Android Studio Installation
Android Studio Installation
Download the following:
- Android Studio : https://developer.android.com/studio
- JDK : https://www.oracle.com/technetwork/java/javase/downloads/jdk12-downloads-5295953.html
Pre - Installation
Install Java Development Kit (JDK)
-
Before installing Android Studio, install first Java Development Kit(JDK). Ensure to install version 1.8 and above. You can check your JDK version by typing "javac -version" on command line.
-
Run the installer and follow the instruction.
-
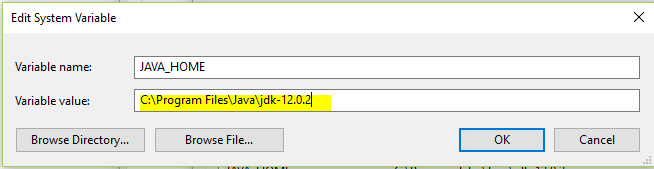
Include JDK's "bin" directory in the System Variable PATH
a. Add new variable under System variables, value should be the path to JDK's bin
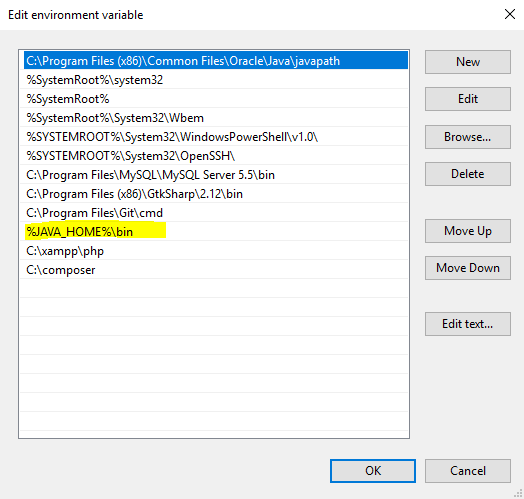
b. Add this to PATH variable in System Variables "%JAVA_HOME%\bin"
-
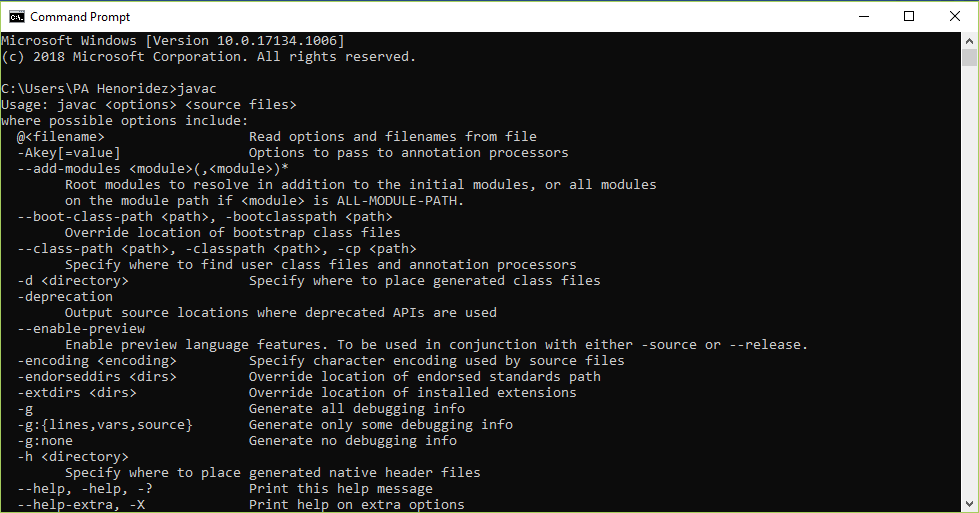
Verifying path, in cmd typing "javac" should result something similar to below image:
Android Studio Installation
-
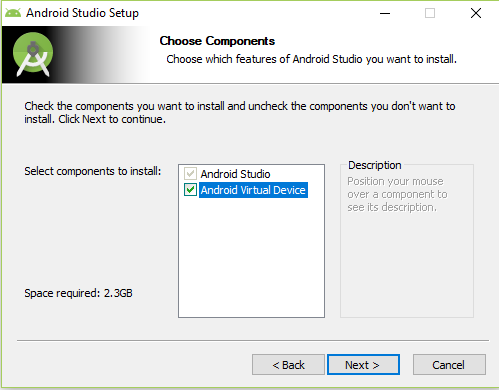
Run the installer for Android Studio
-
Check "Android Virtual Device" to install emulator for testing
-
Select path to install or click Next then Install
-
Click Finish and Run Android Studio
-
Update components if necessary
-
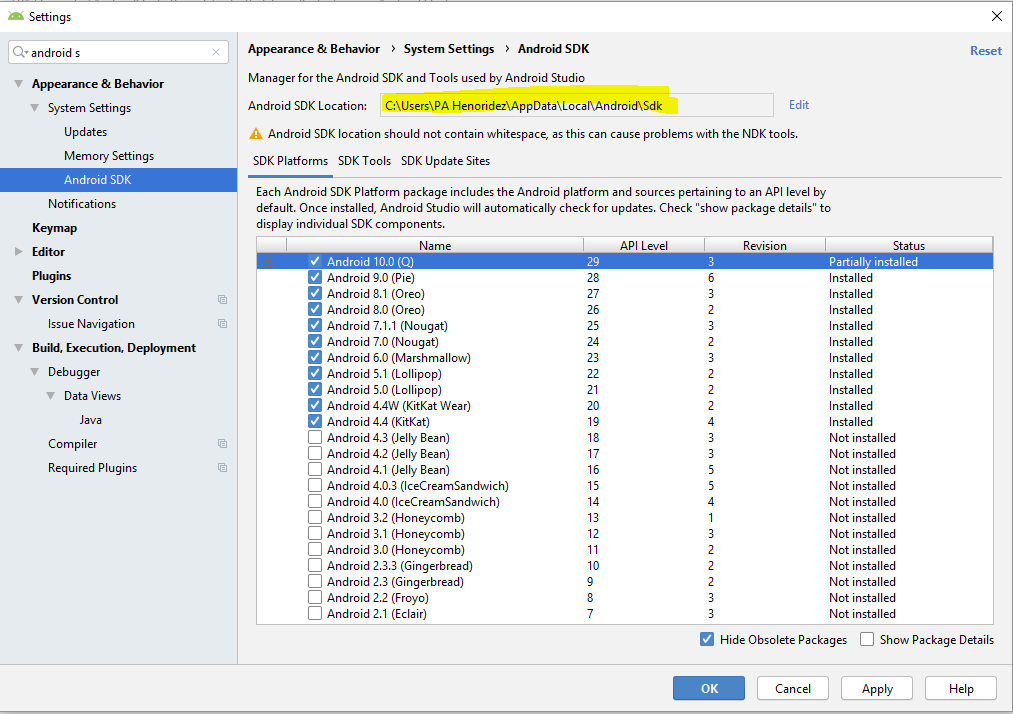
Go to File > Settings > Appearance & Behavior > System Settings > Android SDK, install Android version by checking the checkboxes and click Apply
-
With the above image, copy the Android SDK Location
-
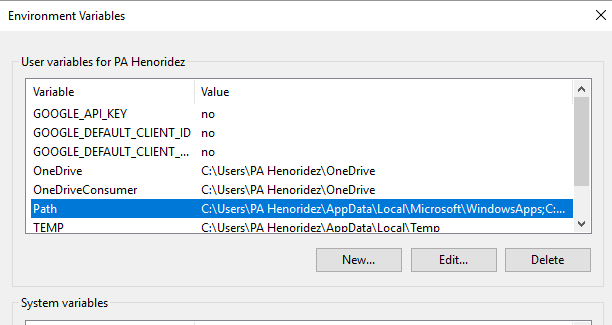
Under User variables:
-
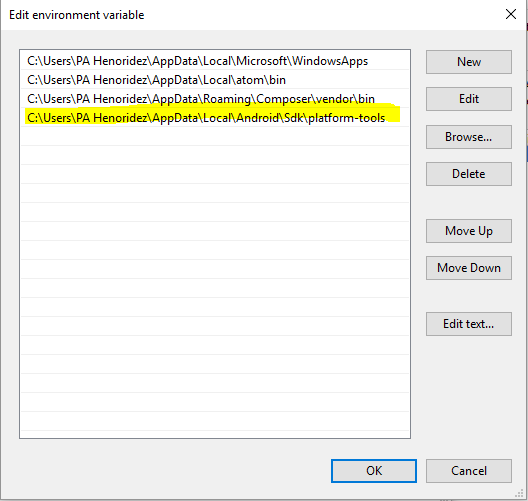
Add the copied path in the Path variable
-
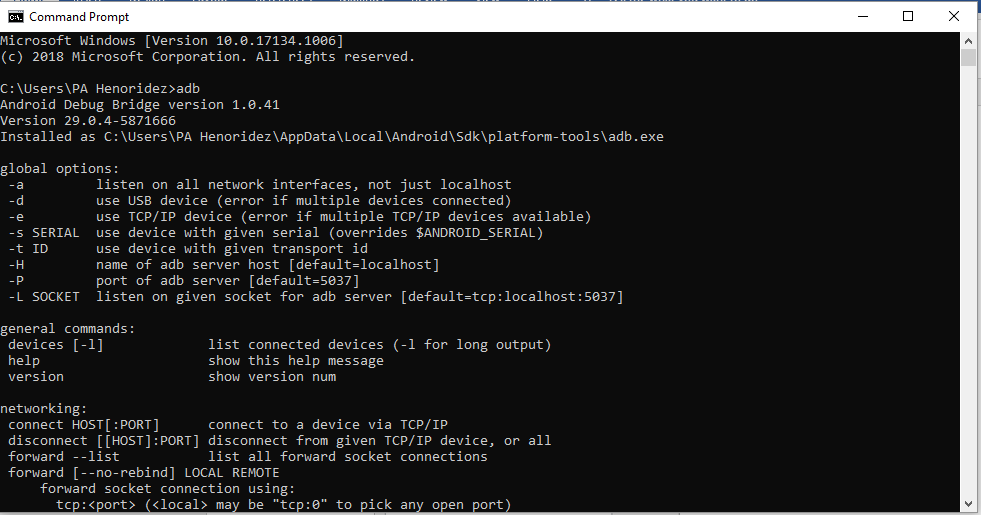
To verify, type "adb" on cmd and should show something similar below
-
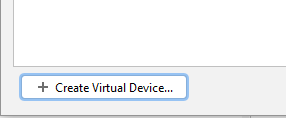
In Android Studio, under Tools > AVD Manager, click Create Virtual Device
-
Choose desired device, then Next, click Download on version the device is available for test run, this will download files and might take a long time and then click Finish
Some Stuff
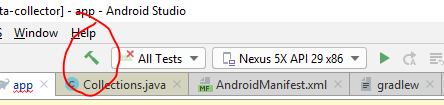
Build the project
- Clicking this will Build and compile the files and create an APK
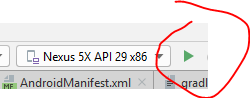
Running the project
- Clicking this will run the project in the emulator with the desired device.
Finding the APK
